 After you remove the herbs from your drying rig, you should take off the top filter and see nicely dried herbs. In our case, the purple basil turned a dark purple again, since some of the leaves we had used turned green before drying. They do tend to stick to the top filter as well, so be ready for them to be on either side.
 Next, we sorted them out and then took a blank piece of paper laid it on the table. We then took the herb between our hands and rub them back and forth. This breaks the herbs off the steam (to be discarded) and makes them fit quite well in other applications. This was Pooka's favorite part becuase the whole house again smelled like her herbs.
This is what we were left with once we finished the basil. Notice how it is in smaller pieces and should work quite well for cooking now. They may need crunched up a bit before use. Just don't try to rush it, since you may be picking small pieces of stem out then (especially thyme).

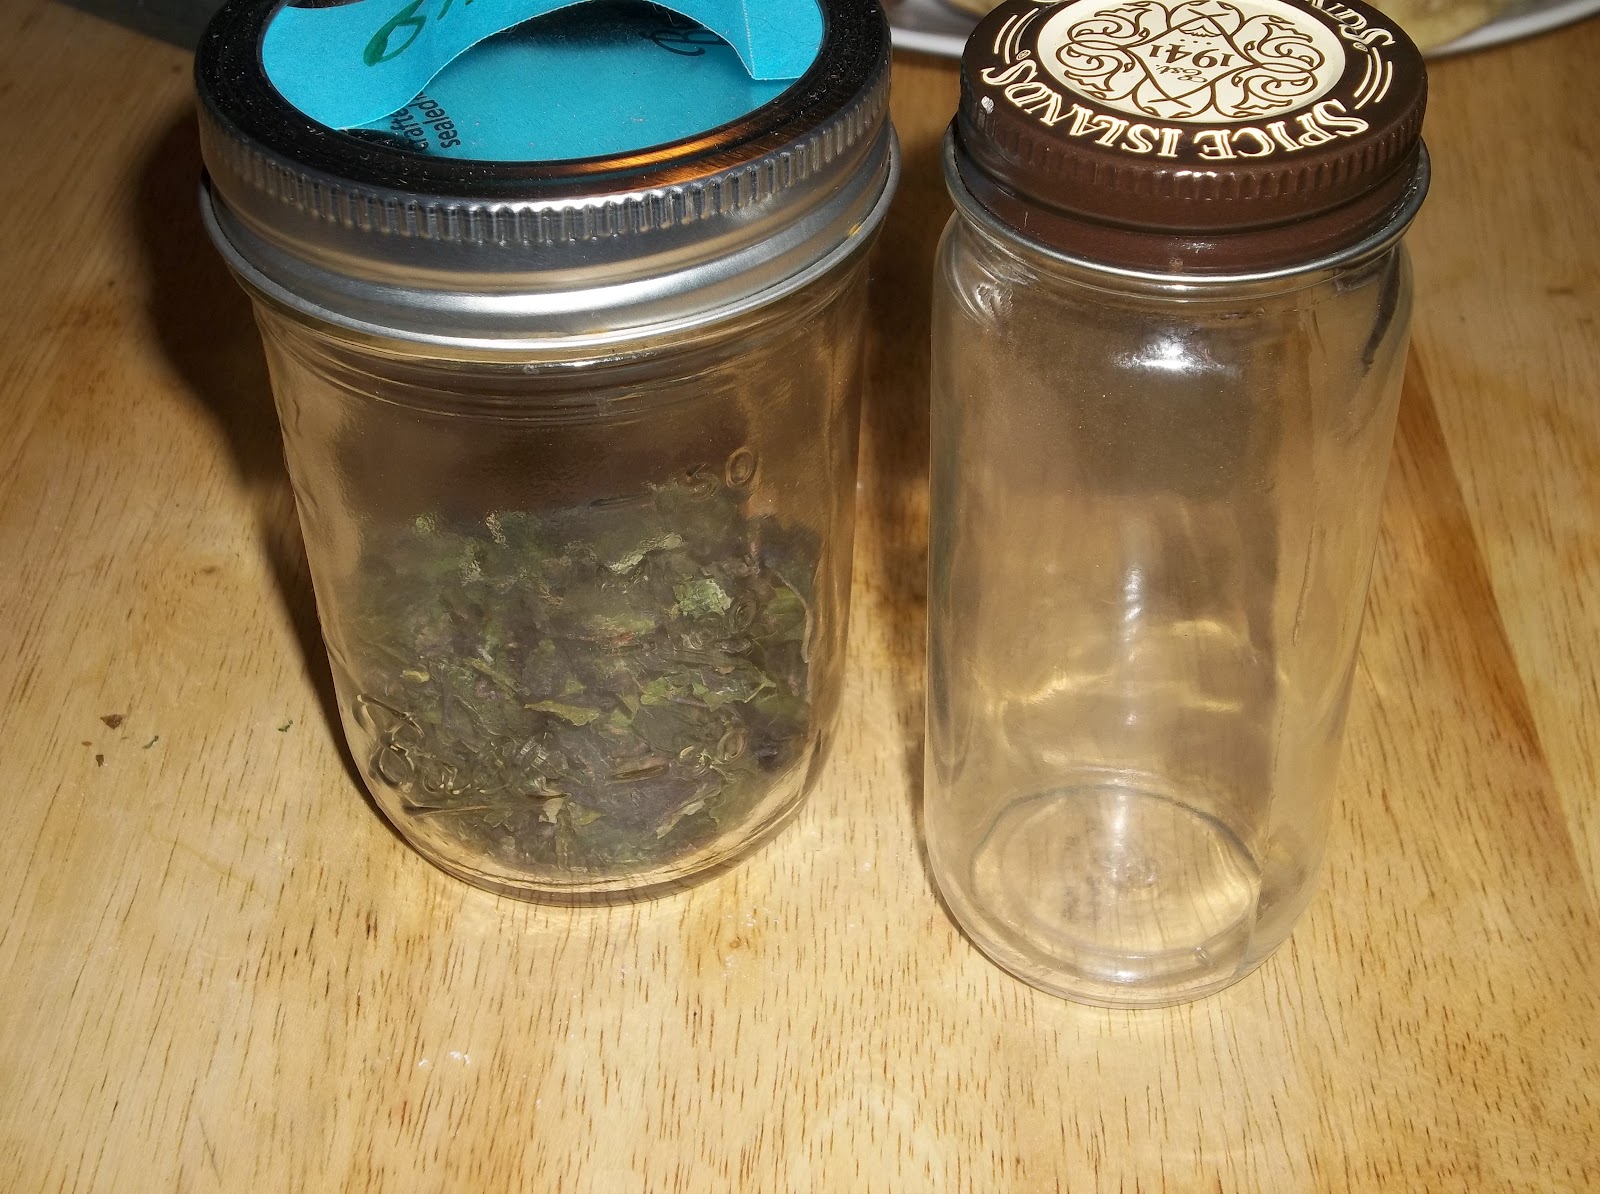 While we were cleaning out the spice cabinet, we condensed some herbs that were in other containers and ended up with 2 of these jars which look suspiciously like the ones we bought only they were free. I think we accidently threw away the shaker lid, but that's okay since I just wait for more to be scavenged. Like the ones we bought, and with a quick use of my labeler, they will have nice labels like the ones you see above, at least until I decide to make something on the computer, but that may take a bit.
No comments:
Post a Comment